
SafeGuard Service installation
Klarway SafeGuard Service is the background service that verifies your computer's permissions before the exam. Install it by following these steps.
- 1
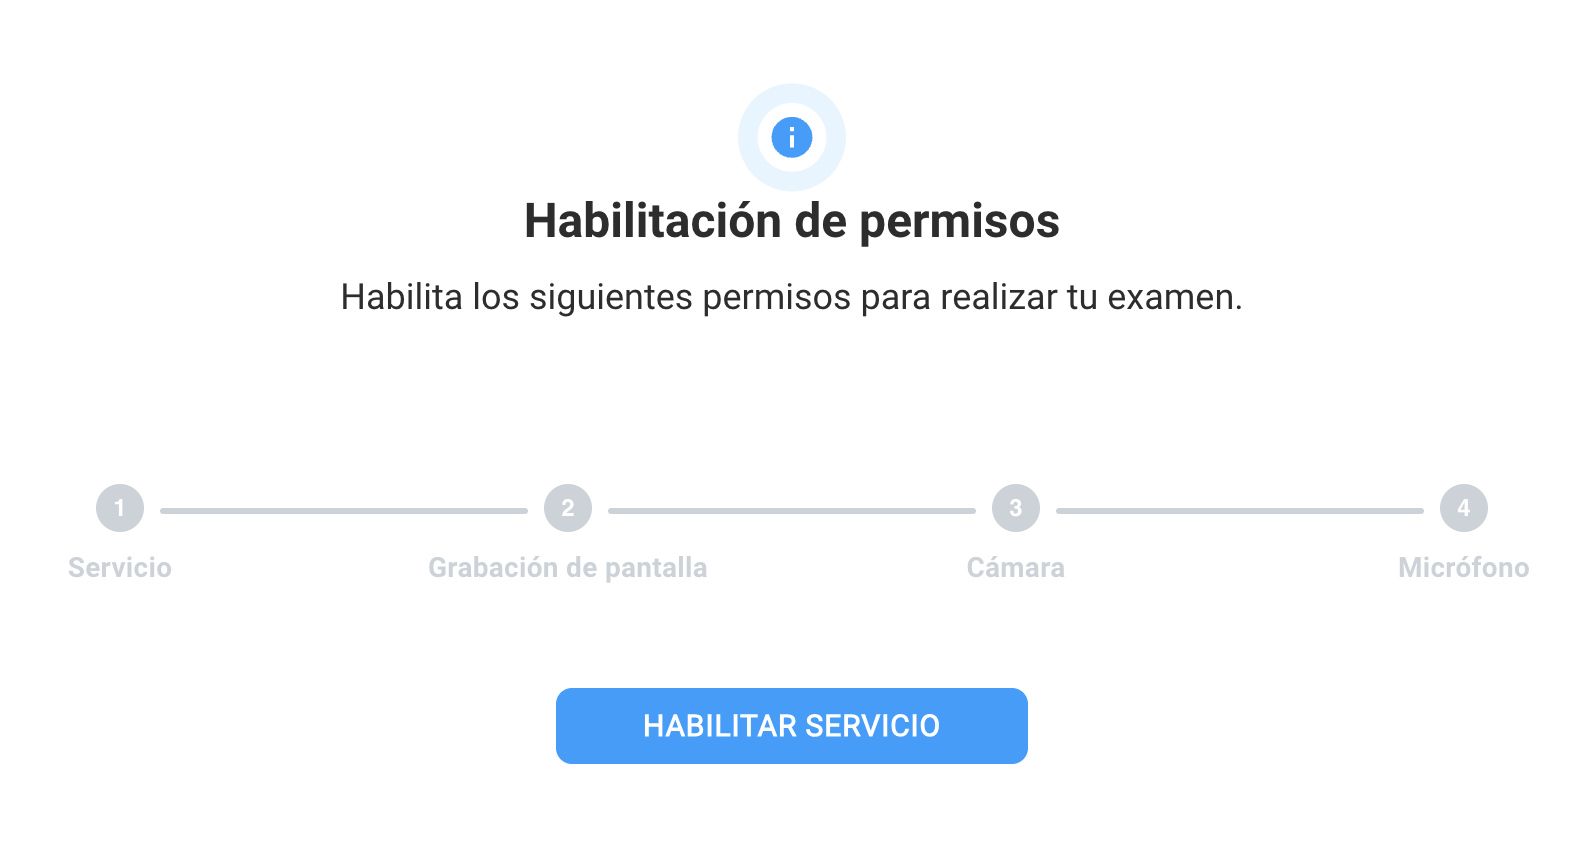
Enable the requested permissions
When verification starts, Klarway will ask you to enable the service along with screen recording, camera and microphone permissions. Click «Enable service» to continue.
- 2
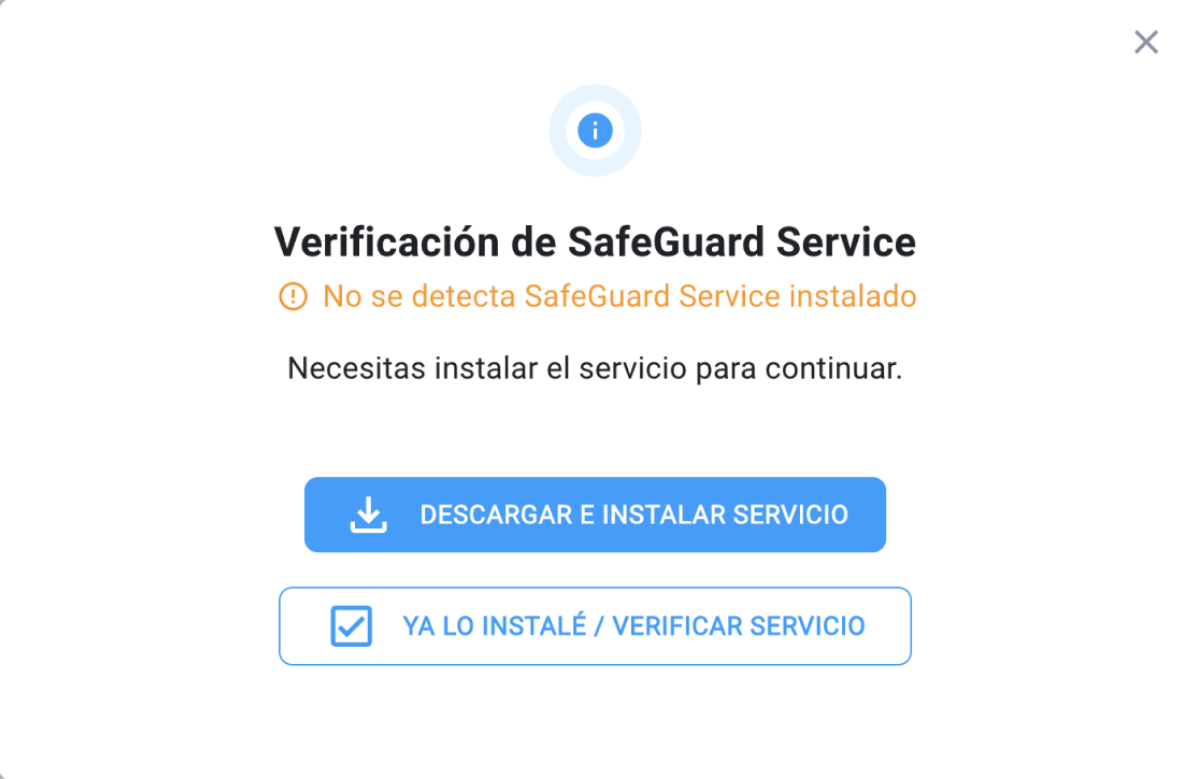
Download and install the service
If SafeGuard Service isn't installed, you'll see a notice about it. Click «Download and install service» to continue.
- 3
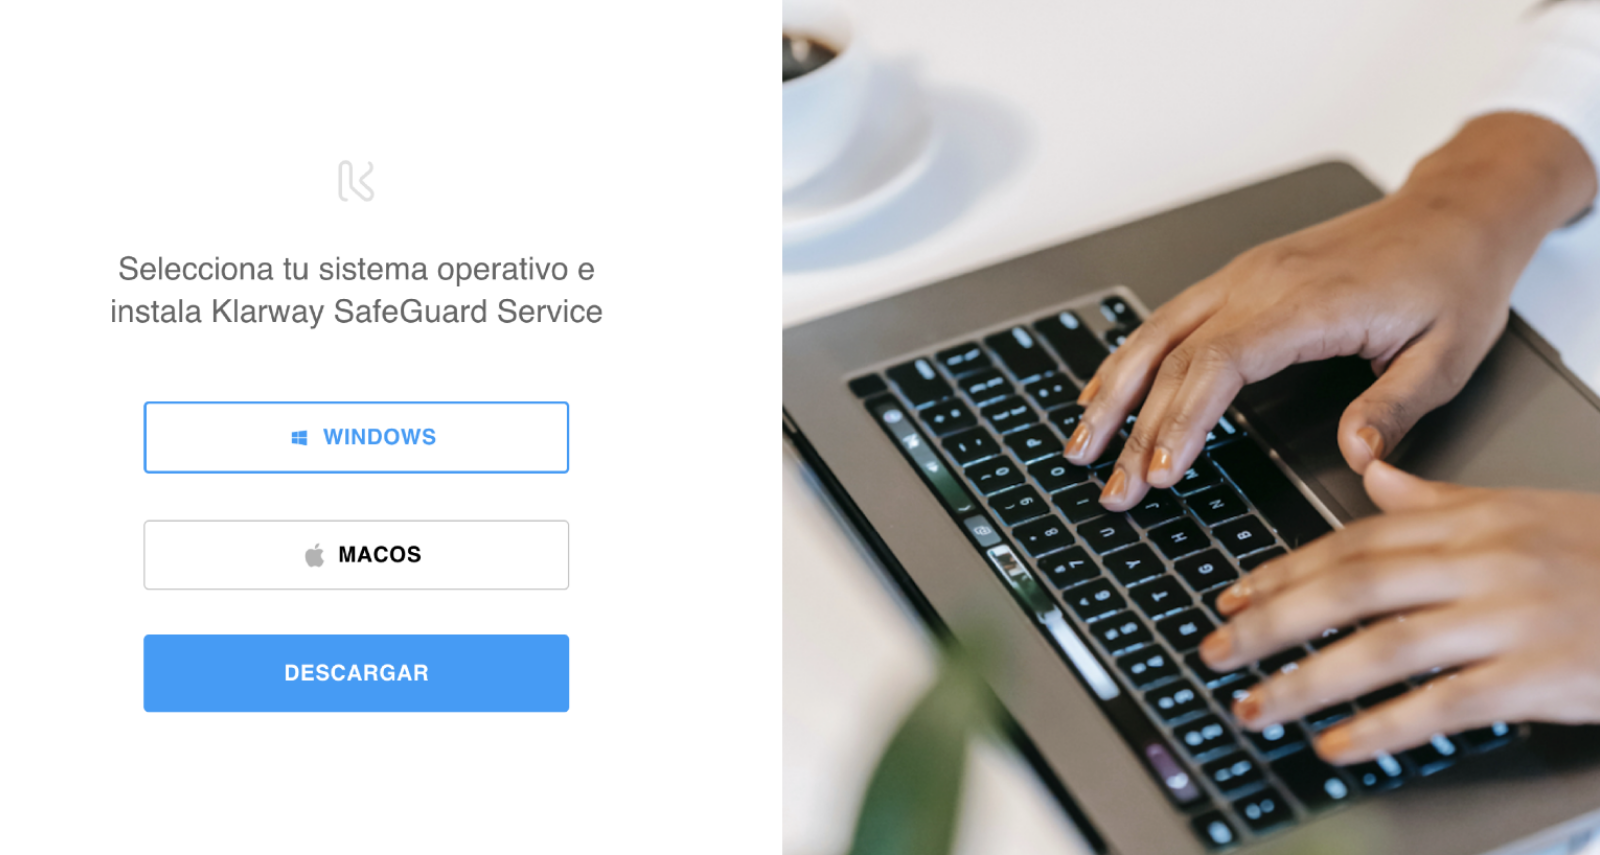
Select your operating system
On the download page, choose Windows or macOS depending on your computer and click «Download». Then run the installer from your Downloads folder.
- 4
Enable pending permissions (macOS)
On macOS, the system may require additional Accessibility and Screen Recording permissions. Enable them from the modal, then click «Verify service».
- 5
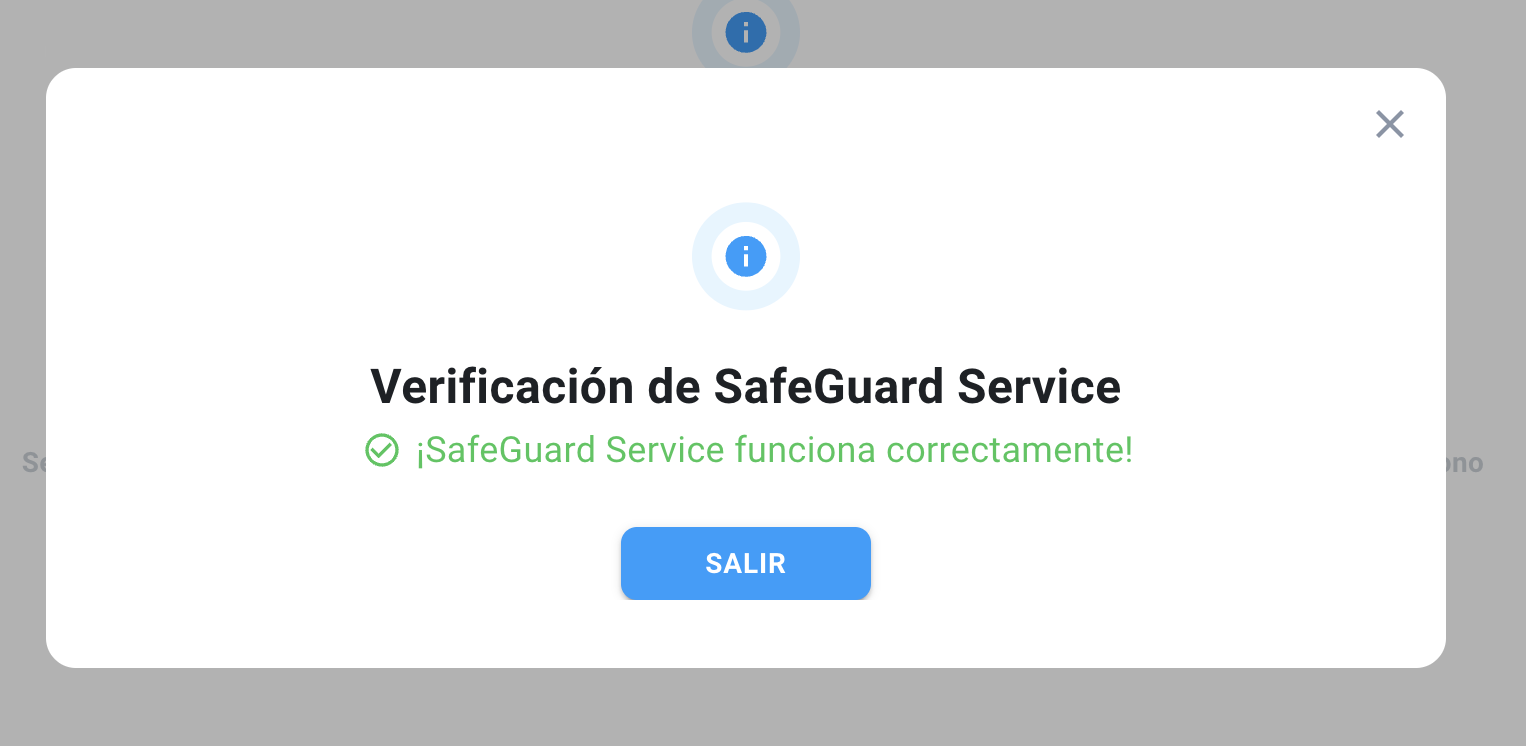
Confirm the service is working
Once every permission is enabled, you'll see «SafeGuard Service is working correctly». Click «Exit» to close the modal.
- 6
Ready to start
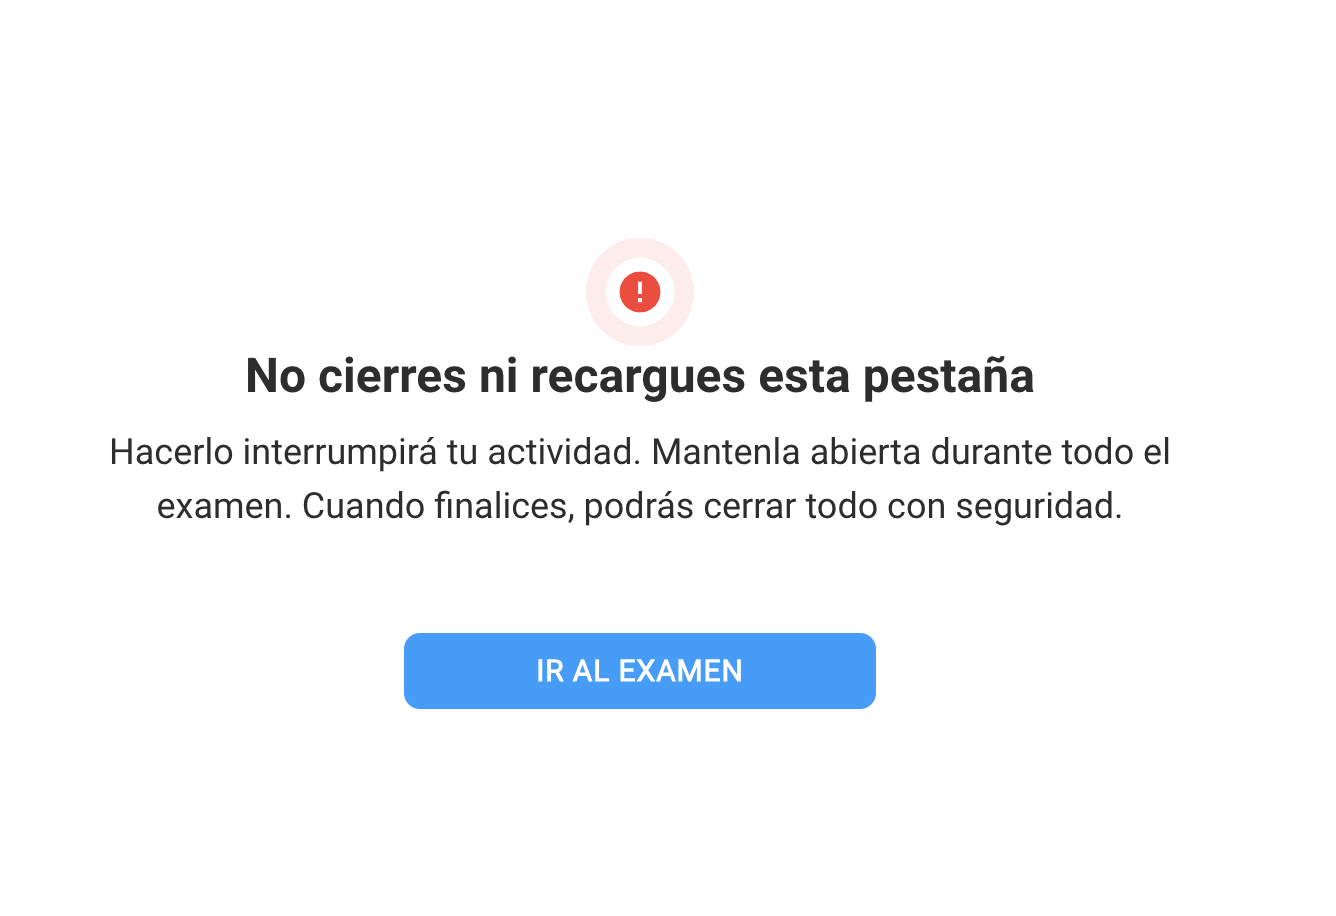
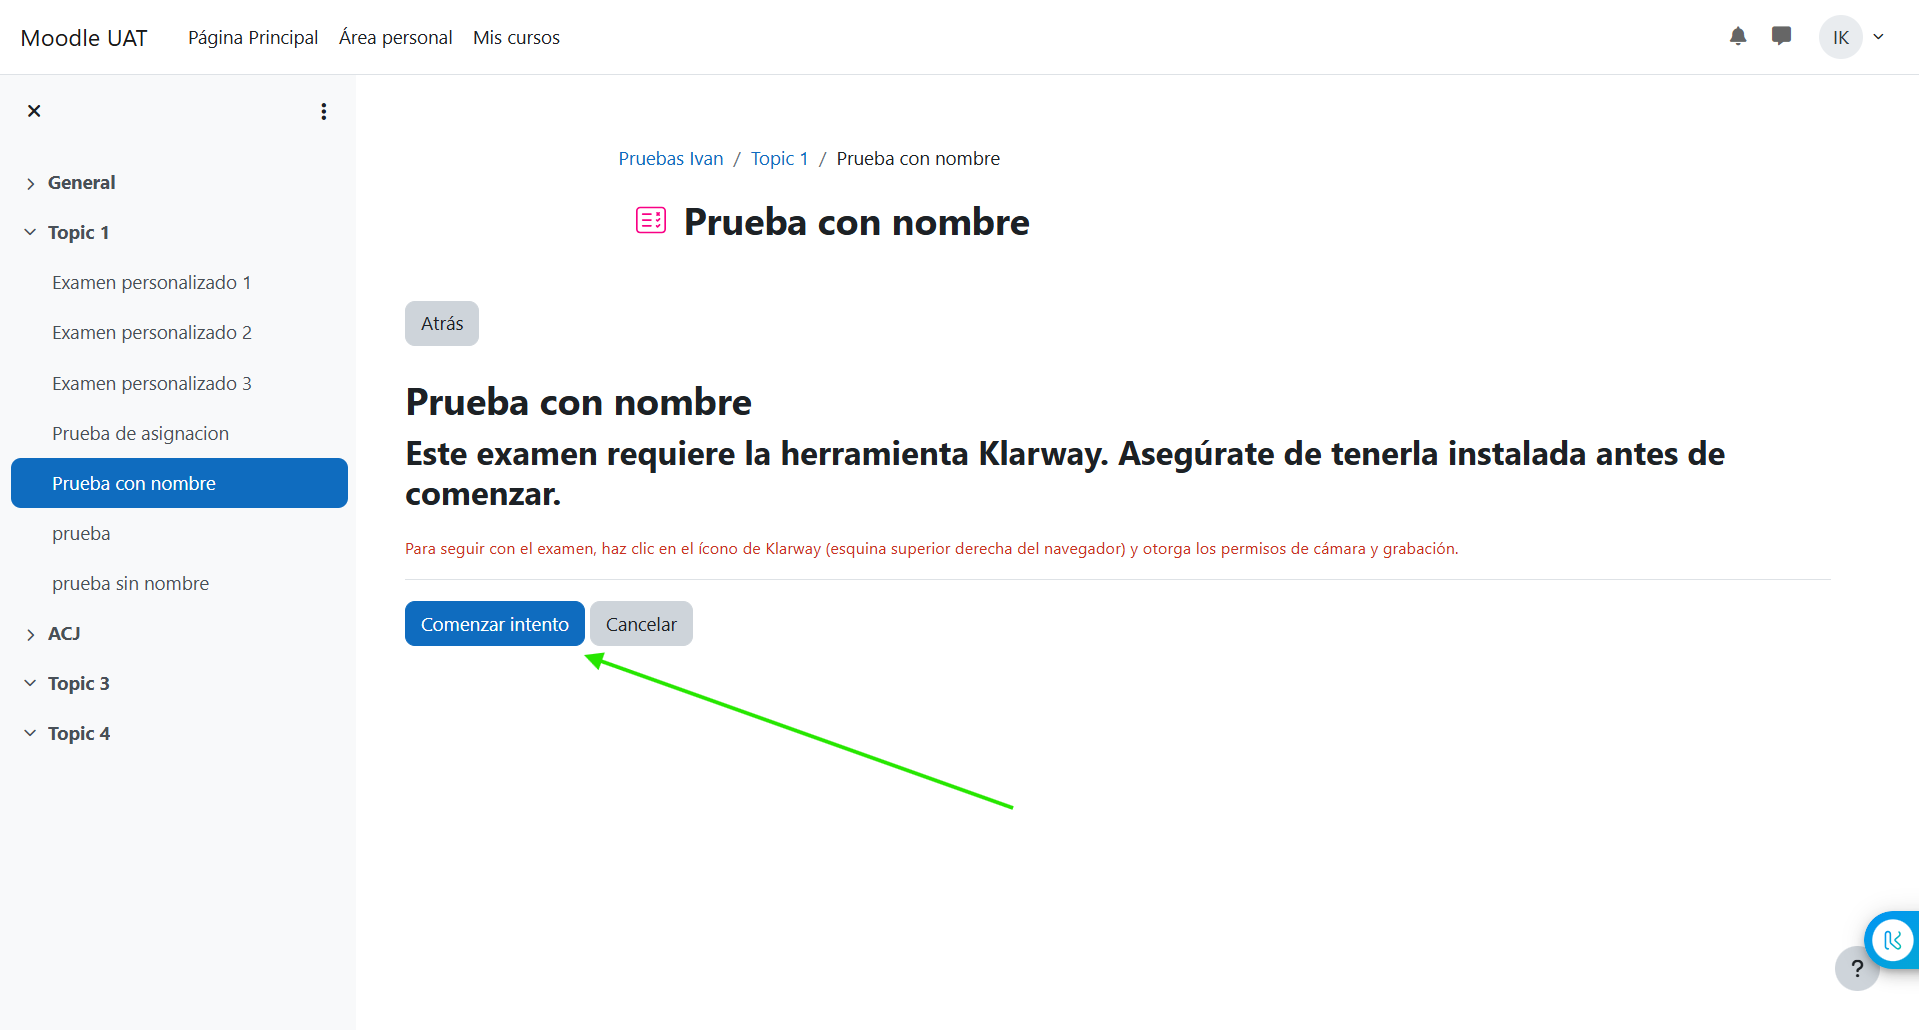
With the service, screen recording, camera and microphone all enabled, you'll see the «All set!» screen. Click «Continue» to start your exam.
Download the service: downloads.klarway.com
This is a one-time step: once you install the extension, complete your registration and download SafeGuard Service, you won't need to repeat these steps for your next exams.